
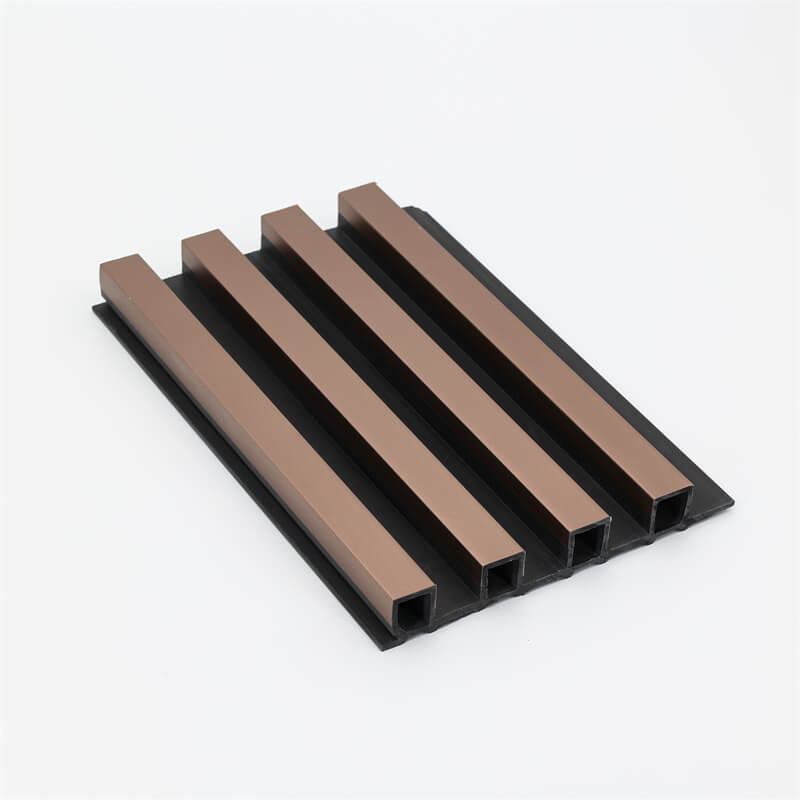
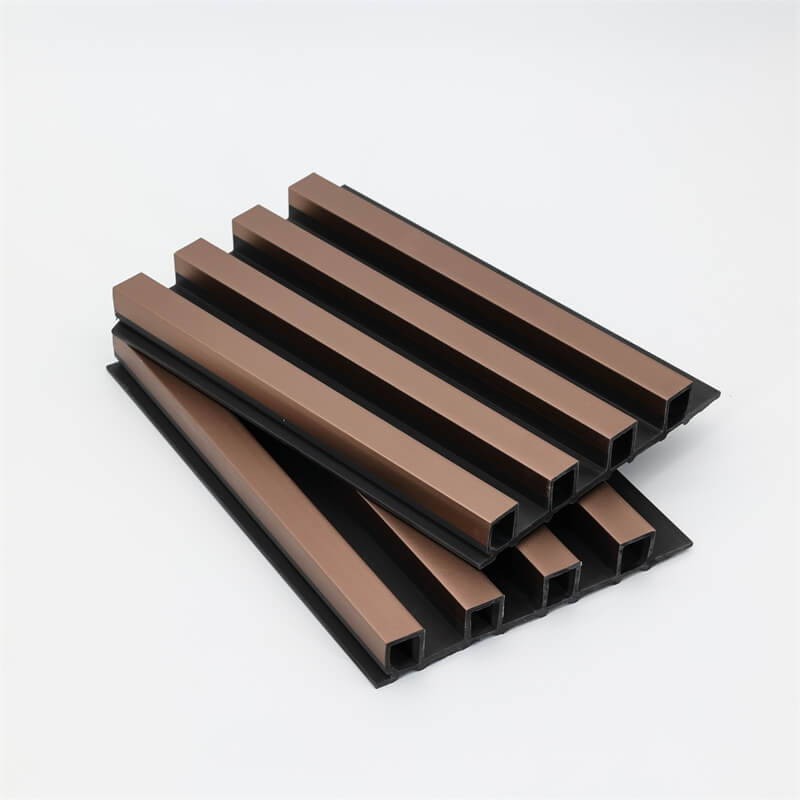
WPC (Wood Plastic Composite) wall panels have gained popularity in the construction industry due to their durability, versatility, and ease of installation.
Whether you’re a DIY enthusiast or a beginner, installing WPC wall panels can be a rewarding and straightforward process.
This step-by-step guide aims to provide a comprehensive overview of the installation process, equipping you with the knowledge and confidence to transform your space with WPC wall panels.
I. Pre-Installation Preparation:
Before you begin the installation process, it is crucial to prepare the area and gather the necessary tools and materials.
Follow these steps:
Measure and Plan: Measure the wall area where the panels will be installed, taking note of any electrical outlets or obstacles.
Plan the panel layout and determine the quantity of panels needed.
Gather Tools and Materials: Ensure you have the following tools: measuring tape, level, utility knife, saw, drill, screws, adhesive, and a caulking gun. Additionally, have safety equipment like gloves and goggles.
Prepare the Wall: Ensure the wall surface is clean, dry, and free from any dust, debris, or protrusions.
Repair any imperfections and apply a suitable primer if necessary.

II. Panel Installation:
Follow these steps to install WPC wall panels:
Start with Corner Trim: Install corner trim pieces on the wall edges using adhesive and screws.
Ensure the trim is plumb and level.
Measure and Cut Panels: Measure the height of the wall and cut the WPC panels accordingly, leaving a small gap at the top and bottom for expansion.
Use a saw or utility knife for cutting.
Apply Adhesive: Apply a suitable adhesive on the backside of the panel, ensuring even coverage.
Alternatively, some panels come with an interlocking system that eliminates the need for adhesive.
Position and Secure Panels: Position the first panel in place, ensuring it aligns with the corner trim.
Use a level to ensure it is plumb and adjust if necessary. Secure the panel to the wall using screws or the interlocking system.
Continue Installation: Repeat the process for subsequent panels, ensuring they fit tightly together.
Use spacers or temporary supports to maintain consistent spacing between panels.
Cut Openings: If needed, cut openings for electrical outlets or switches using a utility knife or saw.
Take accurate measurements and ensure a precise fit.
III. Finishing Touches:
After installing the panels, follow these steps to complete the installation:
Trim Edges: Trim any excess panel material using a saw or utility knife. Ensure a clean and neat appearance.
Caulk and Seal: Apply caulk along the panel edges, corner trims, and any joints or gaps to provide a seamless and waterproof seal.
Use a caulking gun for precise application.
Finishing Options: Depending on your preference, you can leave the panels as they are or apply a suitable paint or finish to enhance the appearance and protection.

IV. Maintenance and Care:
To ensure the longevity and beauty of your WPC wall panels, follow these maintenance guidelines:
Regular Cleaning: Clean the panels periodically using a mild soap solution and a soft cloth or sponge.
Avoid abrasive cleaners that can damage the surface.
Avoid Harsh Impacts: Prevent any heavy impacts or sharp objects from coming into contact with the panels, as they may cause dents or scratches.
Inspect for Damage: Regularly inspect the panels for any signs of damage or deterioration.
Replace any damaged panels promptly to maintain the structural integrity.
Installing WPC wall panels can be a satisfying and straightforward process with the right preparation and approach.
By following this step-by-step guide, you can create a stunning and durable wall surface that transforms your space.
Remember to always prioritize safety and take necessary precautions when using tools and equipment.
If you encounter any challenges during the installation process, don’t hesitate to seek professional advice or assistance.
Once the installation is complete, step back and admire your newly installed WPC wall panels.
You’ll be amazed at the instant transformation they bring to your space, adding style, texture, and character.
Whether you’re looking to enhance the aesthetics of your living room, bedroom, or office, WPC wall panels offer a versatile and cost-effective solution.
To ensure the longevity and beauty of your WPC wall panels, it’s important to implement proper maintenance and care.
Regularly clean the panels using a mild soap solution and a soft cloth or sponge to remove dust and dirt.
Avoid using abrasive cleaners or harsh chemicals that can damage the surface. Additionally, inspect the panels periodically for any signs of damage or wear.
Promptly replace any damaged panels to maintain the overall integrity of the installation.
In conclusion, installing WPC wall panels is an achievable task that can be undertaken by beginners with the right guidance and preparation.
By following this step-by-step guide, you can transform your space with stylish and durable wall cladding.
Enjoy the process and embrace the endless design possibilities that WPC wall panels offer.
Get ready to create a stunning and inviting environment that reflects your personal style and enhances the overall aesthetic appeal of your space.